Tutorial: how to build Godot 4.7 from source on macOS
At some point I realized the game depends on a custom build of Godot. The original reason was my internal fork of spine-godot, where I added the 3D support I needed for the game.
Login with Patreon to unlock marked mature media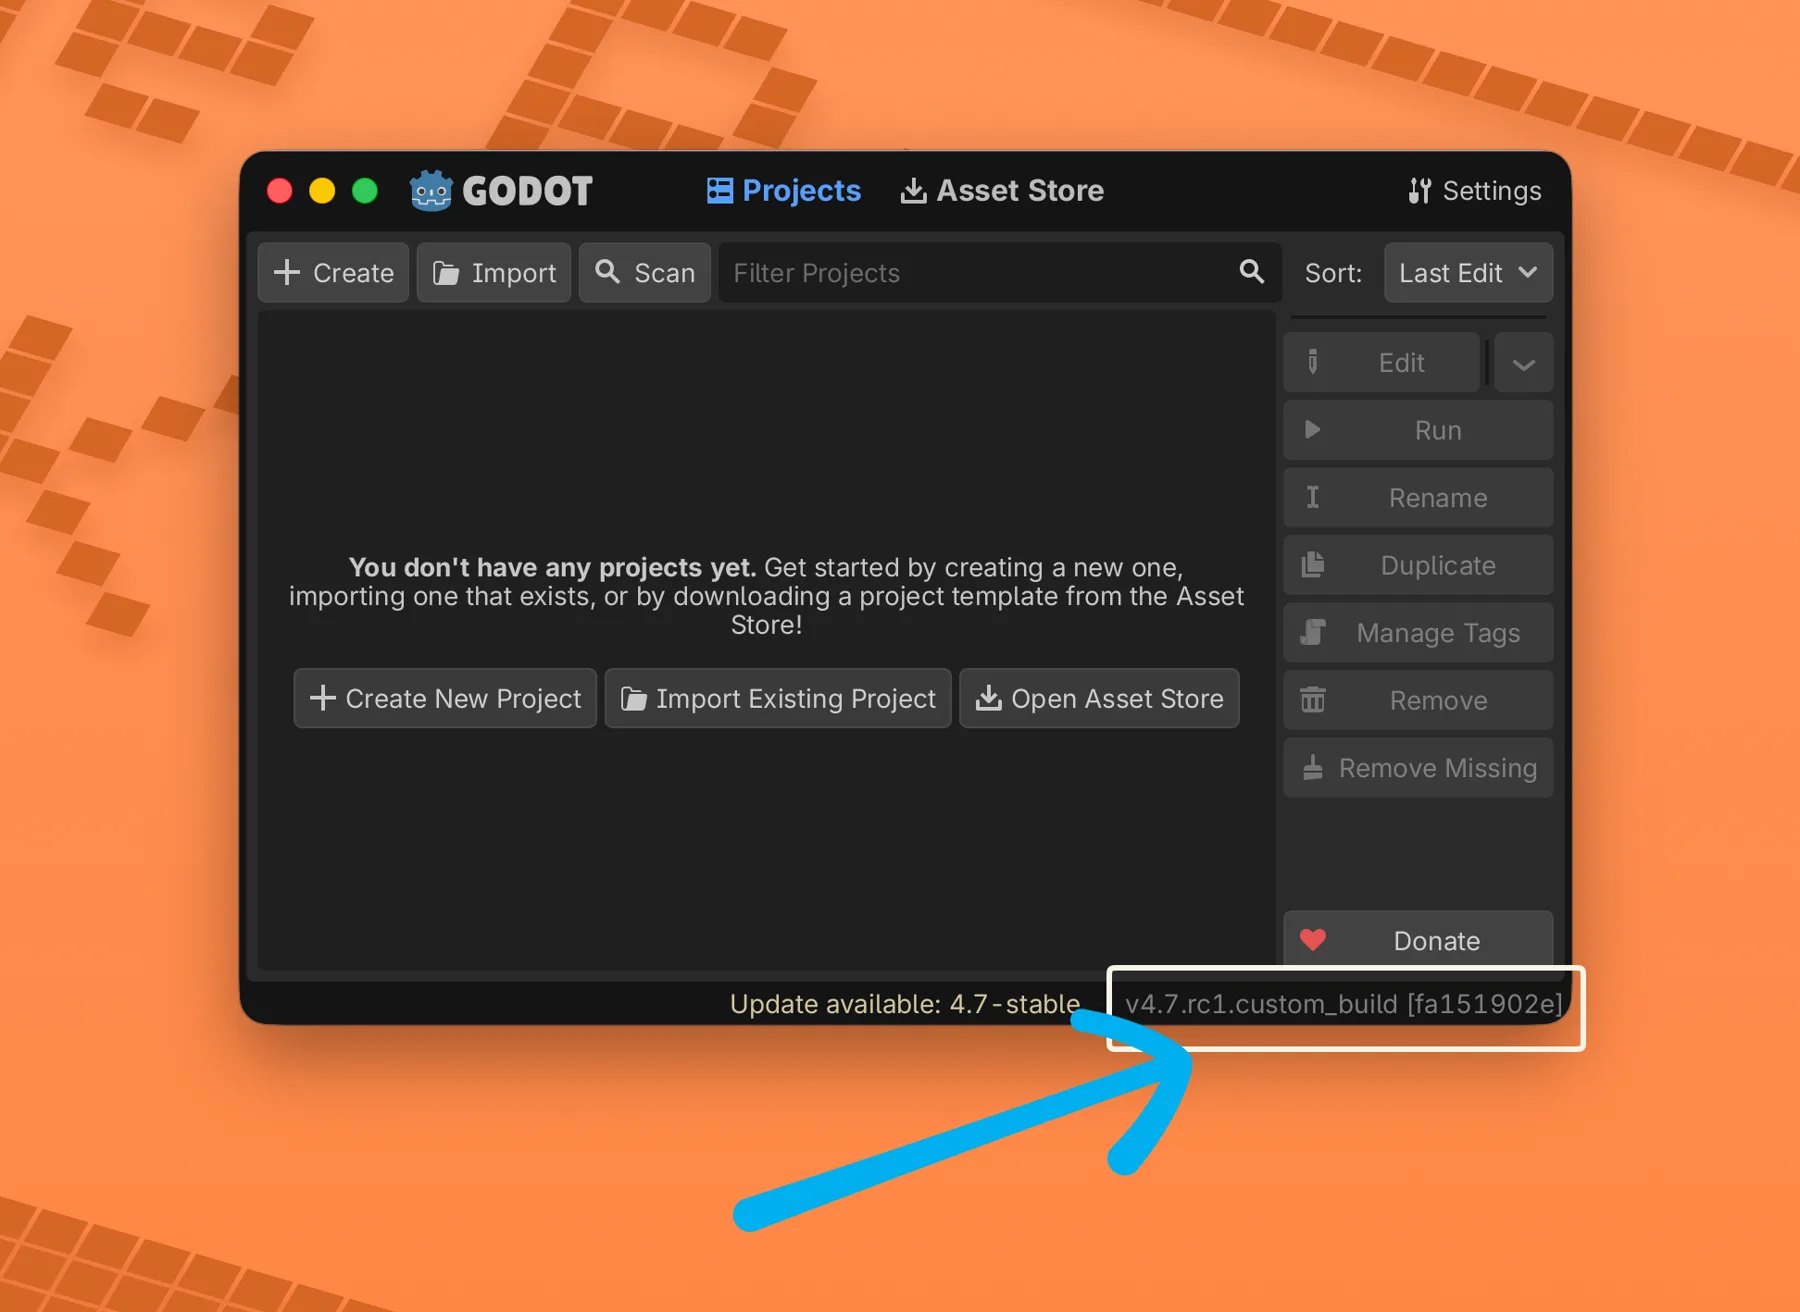
This one is more a tutorial than a normal progress log.
At some point I realized the game depends on a custom build of Godot. The original reason was my internal fork of spine-godot, where I added the 3D support I needed for the game. I never merged that work upstream because it works for my project, but it is not polished enough for general use in the spine-godot repository.
Funny detail: the current version of the game does not use Spine anymore. The art direction moved toward full 3D characters. But by the time that happened, the engine build was already carrying a couple of small pieces I depend on, and going back to stock Godot was not free. So the custom build stays.
I had been working on Godot 4.6 for a while, and when 4.7 RC 1 showed up it felt like a good moment to migrate the whole thing and write the process down. This is the macOS version, because that is my main development machine. If you are on Linux or Windows, the SCons commands are almost the same, but you cannot produce macOS export templates from those systems because of the Apple toolchain requirement.
This guide assumes you want the same result I want: a working Godot editor in /Applications, plus export templates for macOS, Windows and Web installed in the right folder so the editor finds them automatically.
Prerequisites
The first thing you need is the Apple toolchain. Install Xcode Command Line Tools if you do not have them:
xcode-select --install
You also need Homebrew. If you do not have it:
/bin/bash -c "$(curl -fsSL https://raw.githubusercontent.com/Homebrew/install/HEAD/install.sh)"
Then install the build tools:
brew install python scons mingw-w64
python and scons are for the build system. mingw-w64 is the cross-compiler used to build Windows export templates from macOS.
For Web templates you need Emscripten. The clean way is the official emsdk:
git clone https://github.com/emscripten-core/emsdk.git ~/emsdk
cd ~/emsdk
./emsdk install 3.1.64
./emsdk activate 3.1.64
The version number matters. Each Godot release expects a specific Emscripten range. Check the Godot docs for the branch you are building. For Godot 4.7 RC 1 I used 3.1.64 without problems.
Every time you open a new terminal and want to build Web targets, source the Emscripten environment:
source ~/emsdk/emsdk_env.sh
If you forget that step, the Web build usually fails with confusing errors about emcc not being found.
Get the source
Pick a working directory. I use ~/projects/godot in this guide, but any place is fine.
mkdir -p ~/projects && cd ~/projects
git clone https://github.com/godotengine/godot.git
cd godot
git checkout 4.7-rc1
If the tag is not present in the main repo, it is probably in godotengine/godot-builds. That repo stores release JSON metadata, and inside the JSON, in the git_reference field, you can find the exact commit hash to checkout in godotengine/godot. This bit me before when building a release the same day it was announced.
If you are building stock Godot, skip this next part. If you maintain custom code as a module, drop the module folder inside modules/:
cp -R /path/to/your/custom_module modules/
SCons will pick it up automatically as long as the module has the usual SCsub and register_types.cpp files.
One important note: if a previous build attempt left a custom.py at the root of the Godot folder, delete it before building. It can quietly disable engine features and you may not notice until export time.
rm -f custom.py
Build the editor
The editor is the binary you use to open the project. On Apple Silicon machines I usually want a universal build, so the same .app runs on Apple Silicon and Intel.
If you built Godot in the past, you may remember a single arch=universal flag. That is gone now. The current approach is to compile each architecture separately and then let a SCons step merge them and assemble the .app.
scons platform=macos arch=arm64  target=editor production=yes
scons platform=macos arch=x86_64 target=editor production=yes
scons platform=macos arch=arm64  target=editor production=yes generate_bundle=yes
The first two commands compile the binaries:
bin/godot.macos.editor.arm64bin/godot.macos.editor.x86_64
Each one takes a while. On an M1 Max, a clean build is around 10 to 15 minutes per architecture. The third command does not really compile the editor again. It runs lipo, combines both binaries into a fat one, copies it into a bundle, regenerates Info.plist and ad-hoc signs the app. The output is:
bin/godot_macos_editor.app
production=yes enables LTO and other release-friendly flags. Remove it if you only need a faster local development build.
For any build that is not an official Godot release, the Info.plist identifier becomes org.godotengine.godot.custom_build instead of plain org.godotengine.godot. The visible app name stays "Godot". That is expected.
Now install it:
rm -rf /Applications/Godot.app
mv bin/godot_macos_editor.app /Applications/Godot.app
If macOS refuses to open it because of Gatekeeper, right-click and choose "Open" the first time, or remove the quarantine attribute:
xattr -dr com.apple.quarantine /Applications/Godot.app
Launching Godot should report something like 4.7.rc1.custom_build.<hash> in the Output panel.
Build the macOS export templates
Templates are the precompiled engine binaries that ship inside an exported game. They are not the same as the editor. They have no editor UI, and they are split into release and debug variants. macOS templates need both, packed inside one zip file.
The same per-architecture logic applies here, except now there are two targets times two architectures, plus the bundle step:
scons platform=macos arch=arm64  target=template_release
scons platform=macos arch=x86_64 target=template_release
scons platform=macos arch=arm64  target=template_debug
scons platform=macos arch=x86_64 target=template_debug
scons platform=macos arch=arm64  target=template_debug generate_bundle=yes
The last command runs lipo on the release pair and the debug pair, drops the fat binaries into a template bundle and zips it. The output lands in bin/ with a name like godot_macos.zip.
Rename it to the name the editor expects:
mv bin/godot_macos*.zip bin/macos.zip
Keep macos.zip; you will copy it into the export templates folder later.
Build the Windows export templates
You do not need a Windows machine and you do not need Wine. With mingw-w64 installed through Homebrew, SCons can cross-compile Windows binaries from macOS.
There is one catch. The Direct3D 12 backend requires Microsoft DirectX libraries that are not available on macOS, so disable it. Vulkan and OpenGL still compile.
scons platform=windows arch=x86_64 use_mingw=yes target=template_release d3d12=no
scons platform=windows arch=x86_64 use_mingw=yes target=template_debug   d3d12=no
The output files are:
bin/godot.windows.template_release.x86_64.exebin/godot.windows.template_debug.x86_64.exe
For the export templates folder they need to be renamed:
mv bin/godot.windows.template_release.x86_64.exe bin/windows_release_x86_64.exe
mv bin/godot.windows.template_debug.x86_64.exe   bin/windows_debug_x86_64.exe
If you also need 32-bit Windows or ARM64 Windows templates, repeat the same commands with another arch= value. I do not need those right now.
Build the Web export templates
The Web templates come in two variants: with threads and without threads. Threads need cross-origin isolation headers when serving the game, so if your hosting cannot set those headers, you will want the nothreads build. I build all four so the editor has everything.
Remember to source Emscripten first:
source ~/emsdk/emsdk_env.sh
Then build:
scons platform=web target=template_release
scons platform=web target=template_debug
scons platform=web target=template_release threads=no
scons platform=web target=template_debug   threads=no
This produces:
bin/godot.web.template_release.wasm32.zip->web_release.zipbin/godot.web.template_debug.wasm32.zip->web_debug.zipbin/godot.web.template_release.wasm32.nothreads.zip->web_nothreads_release.zipbin/godot.web.template_debug.wasm32.nothreads.zip->web_nothreads_debug.zip
Rename them:
mv bin/godot.web.template_release.wasm32.zip            bin/web_release.zip
mv bin/godot.web.template_debug.wasm32.zip              bin/web_debug.zip
mv bin/godot.web.template_release.wasm32.nothreads.zip  bin/web_nothreads_release.zip
mv bin/godot.web.template_debug.wasm32.nothreads.zip    bin/web_nothreads_debug.zip
Install the templates
The editor looks for export templates in a version-specific folder:
~/Library/Application Support/Godot/export_templates/<version>/
For Godot 4.7 RC 1 that is 4.7.rc1. Create the folder and copy everything into it:
TEMPLATES_DIR="$HOME/Library/Application Support/Godot/export_templates/4.7.rc1"
mkdir -p "$TEMPLATES_DIR"

cp bin/macos.zip                    "$TEMPLATES_DIR/"
cp bin/windows_release_x86_64.exe   "$TEMPLATES_DIR/"
cp bin/windows_debug_x86_64.exe     "$TEMPLATES_DIR/"
cp bin/web_release.zip              "$TEMPLATES_DIR/"
cp bin/web_debug.zip                "$TEMPLATES_DIR/"
cp bin/web_nothreads_release.zip    "$TEMPLATES_DIR/"
cp bin/web_nothreads_debug.zip      "$TEMPLATES_DIR/"
Finally, the editor expects a version.txt file inside that folder. Its content must match the version string the editor reports:
echo "4.7.rc1" > "$TEMPLATES_DIR/version.txt"
If your build reports a different value, match that exact value in version.txt. Otherwise the editor will refuse to recognize the templates and will keep offering to download the official ones.
Verifying everything works
Open the editor. The Output panel should print the version line at startup. Open any project, go to Project -> Export..., add a preset for macOS, Windows or Web, and check the bottom of the dialog. If the templates are installed correctly, there should be no warning about missing templates.
For a real test, export a small scene to each platform. The macOS export should produce a runnable .app. The Windows export should produce a .exe you can run on a Windows machine or under Wine. The Web export should produce a folder with an index.html that runs in a browser when served over a local HTTP server.
That is the full build. If you maintain a custom branch like I do, each new Godot release means doing this again: pull the new tag, resolve patch conflicts, rebuild editor and templates, install. It is not a five-minute job, but once the toolchain is set up, the commands are mechanical.